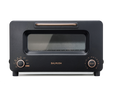
bag user access logo-toaster logo-kettle text-home text-about-us text-better-morning text-support text-bmbl--1r text-bmbl--2r--ta-c text-bmbl--2r--ta-l mail arrow1 toaster kettle lantern brew facebook tiktok instagram insta sign

Free shipping within the US *view details

How to use
BALMUDA The Toaster

BALMUDA The Toaster brings out the best in any kind of bread.
Simply follow the 4 steps below.

STEP 1

Place bread

The ultimate toast starts with the right technique.

Place bread right-side-up and evenly spaced

Every loaf of bread has a top and a bottom. For best results, place each slice with the top facing out. For "mountain-shaped" bread, the "peak" is the top. For square and other bread, check which side is on top when the bread is on the shelf. If you're toasting a single slice, place it in the center. If more than one, spread them out evenly.

Clean regularly for best results

If your toaster has breadcrumbs in it from previous use, they will absorb energy and prevent your bread from being properly toasted. Be sure to clean your toaster regularly for a reliably delicious toasted finish.

STEP 2

Add water

Before each use, pour 5 cc of water into the water inlet using the special cup. Skip this step if using Oven Mode.

Use the same amount of water every time

Whatever kind of bread you're toasting, and however many slices you're toasting at once, always add the same 5cc of water.

Don't add water in Oven Mode

In Oven Mode, steam isn't used, so water isn't needed. Adding it can cause buildup in the boiler and lead to a malfunction.

STEP 3

Select mode

Each mode uses a different heating method.

Read on to learn which mode is right for which kind of bread.

Sandwich Bread Mode

Heats both sides of the bread evenly at a moderate temperature. Recommended for thin slices and everyday sandwich bread.

This mode is ideal for everyday thin-sliced bread and English muffins. It delivers a delicious contrast between a crisp exterior and a moist interior. Adjust the timer to obtain the desired level of golden finish.

Sandwich Bread Mode

Artisan Bread Mode

Heats at a moderate-to-high temperature. Recommended for thick slices and fresh bread with high moisture content.

This high-temperature toasting mode is designed to bring out the full texture and aroma of artisan bread. It delivers a crisp surface while preserving the bread’s interior elasticity. Even moist bakery bread takes on a toasted hue, just as if it had been dry-fried by a chef.

Pizza Mode

Heats at a high temperature, especially on top. Recommended for sliced bagels and toast with toppings to give a crisp, golden brown finish.
* With oily foods or toppings that can drip, be sure to use the baking pan.

Pizza is notoriously the most problematic dish to reheat, so we created a setting specially designed for it. By toasting more strongly from above than below, this mode is ideal for bread that requires a crispy base with melted toppings. Bagels also shine in this mode, as they will toast to a golden surface while maintaining their chewy texture.

Pastry Mode

Heats at a moderate temperature without browning. Recommended for bread that you just want to warm up, such as croissants, rolls and baguettes.

Designed to emulate a baker’s oven, this mode reproduces the flavor, texture, and moisture that could once only be experienced with freshly baked bread. Buttery croissants become warm and crisp without burning. Heated baguettes remain light and airy on the inside with a wonderfully crunchy outside. Rolls come out piping hot -- even in the center.

Oven Mode 350 / 400 / 450°F

Heat is regulated to reach the desired temperature without the use of steam. Recommended for dishes such as gratin, cookies and even frozen foods that can be oven-cooked.

Utilizing heat without steam, this mode offers three different temperature settings (350°F / 400°F / 450°F) just like a traditional oven. It is a great way to prepare various smaller dishes such as gratin, cookies, or even frozen foods that can be oven-cooked.

Sandwich Bread Mode

Heats both sides of the bread evenly at a moderate temperature. Recommended for thin slices and everyday sandwich bread.

This mode is ideal for everyday thin-sliced bread and English muffins. It delivers a delicious contrast between a crisp exterior and a moist interior. Adjust the timer to obtain the desired level of golden finish.

Sandwich Bread Mode

Artisan Bread Mode

Heats at a moderate-to-high temperature. Recommended for thick slices and fresh bread with high moisture content.

This high-temperature toasting mode is designed to bring out the full texture and aroma of artisan bread. It delivers a crisp surface while preserving the bread’s interior elasticity. Even moist bakery bread takes on a toasted hue, just as if it had been dry-fried by a chef.

Pizza Mode

Heats at a high temperature, especially on top. Recommended for sliced bagels and toast with toppings to give a crisp, golden brown finish.
* With oily foods or toppings that can drip, be sure to use the baking pan.

Pizza is notoriously the most problematic dish to reheat, so we created a setting specially designed for it. By toasting more strongly from above than below, this mode is ideal for bread that requires a crispy base with melted toppings. Bagels also shine in this mode, as they will toast to a golden surface while maintaining their chewy texture.

Pastry Mode

Heats at a moderate temperature without browning. Recommended for bread that you just want to warm up, such as croissants, rolls and baguettes.

Designed to emulate a baker’s oven, this mode reproduces the flavor, texture, and moisture that could once only be experienced with freshly baked bread. Buttery croissants become warm and crisp without burning. Heated baguettes remain light and airy on the inside with a wonderfully crunchy outside. Rolls come out piping hot -- even in the center.

Oven Mode 350 / 400 / 450°F

Heat is regulated to reach the desired temperature without the use of steam. Recommended for dishes such as gratin, cookies and even frozen foods that can be oven-cooked.

Utilizing heat without steam, this mode offers three different temperature settings (350°F / 400°F / 450°F) just like a traditional oven. It is a great way to prepare various smaller dishes such as gratin, cookies, or even frozen foods that can be oven-cooked.

List of baking times

Experiment With Your Favorite Breads

Sandwich Bread Mode

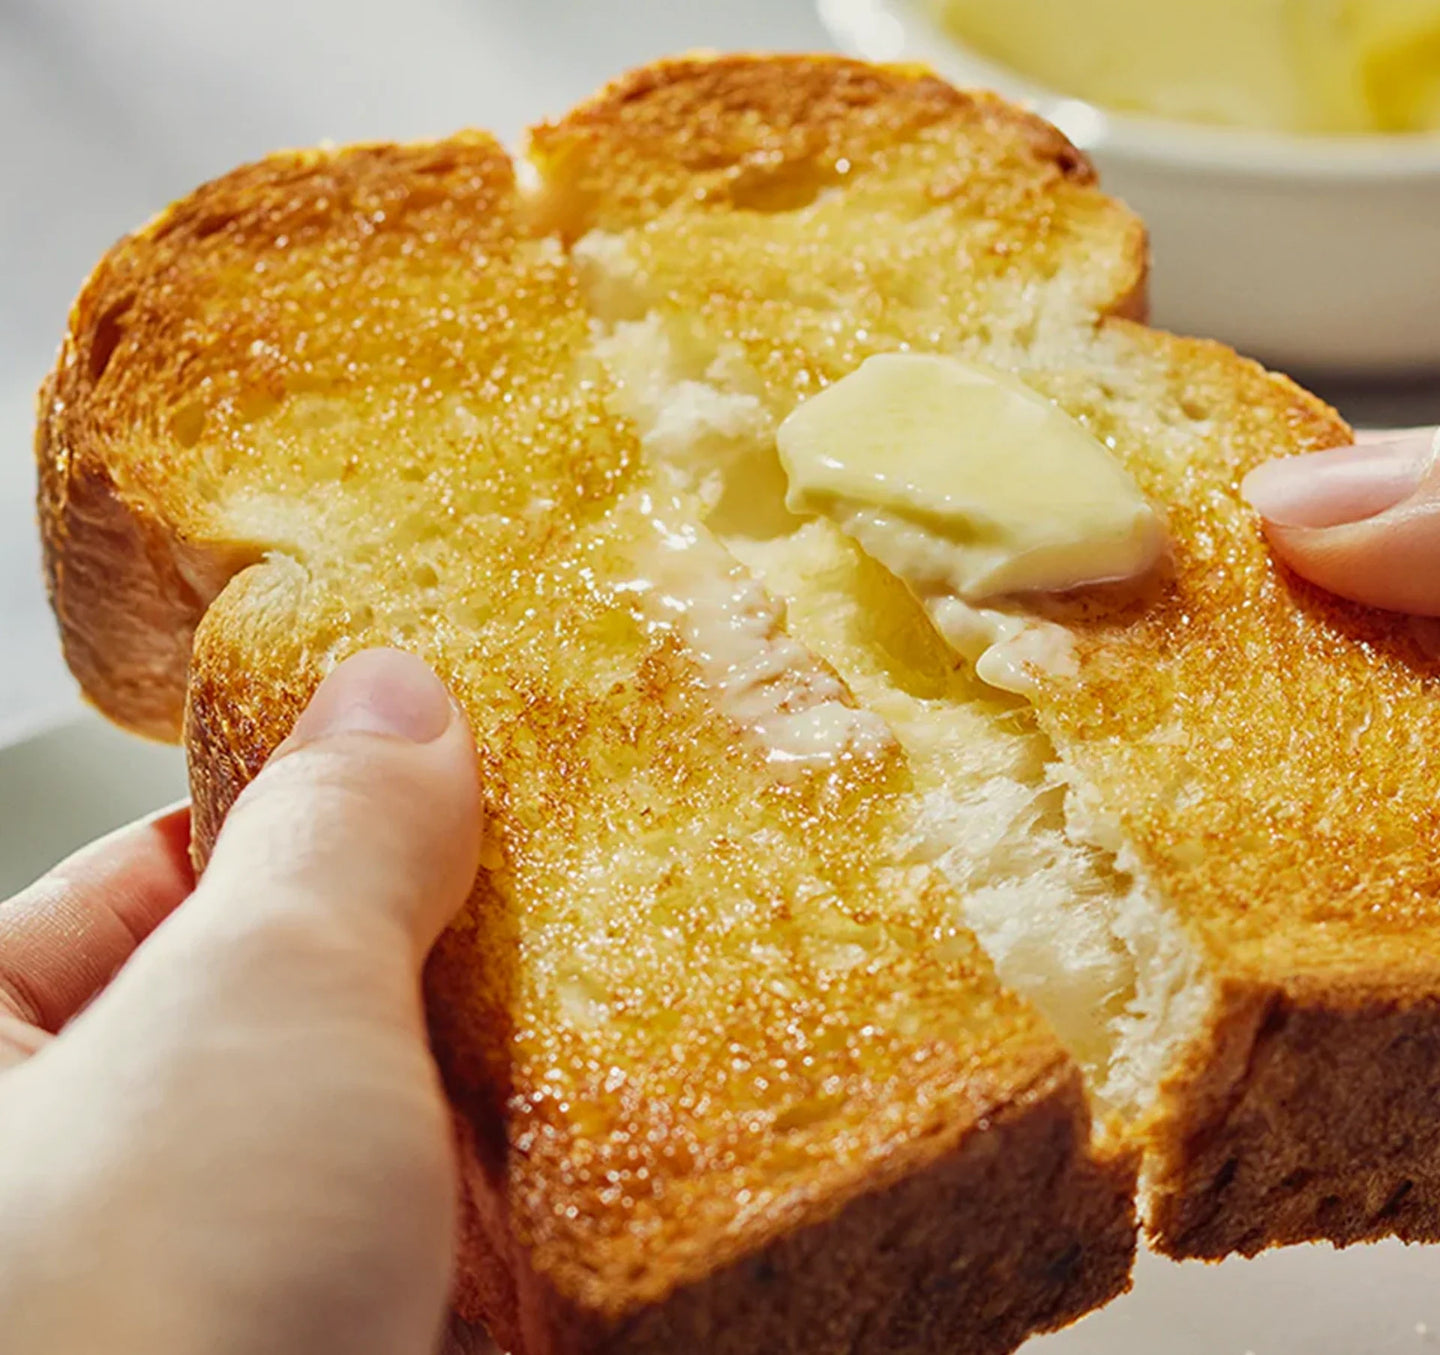
This mode gives even thinly sliced bread a deliciously crisp surface and light interior

English muffin 3~5 min
Gluten-free bread 3~4 min
Multigrain bread (supermarket) 3~4 min
Rye bread (supermarket) 2.5~3.5 min
Sourdough bread 
(supermarket)
2.5~3.5 min
White bread (supermarket) 2.5~3.5 min
Whole wheat bread (supermarket) 2.5~3.5 min

Artisan Bread Mode

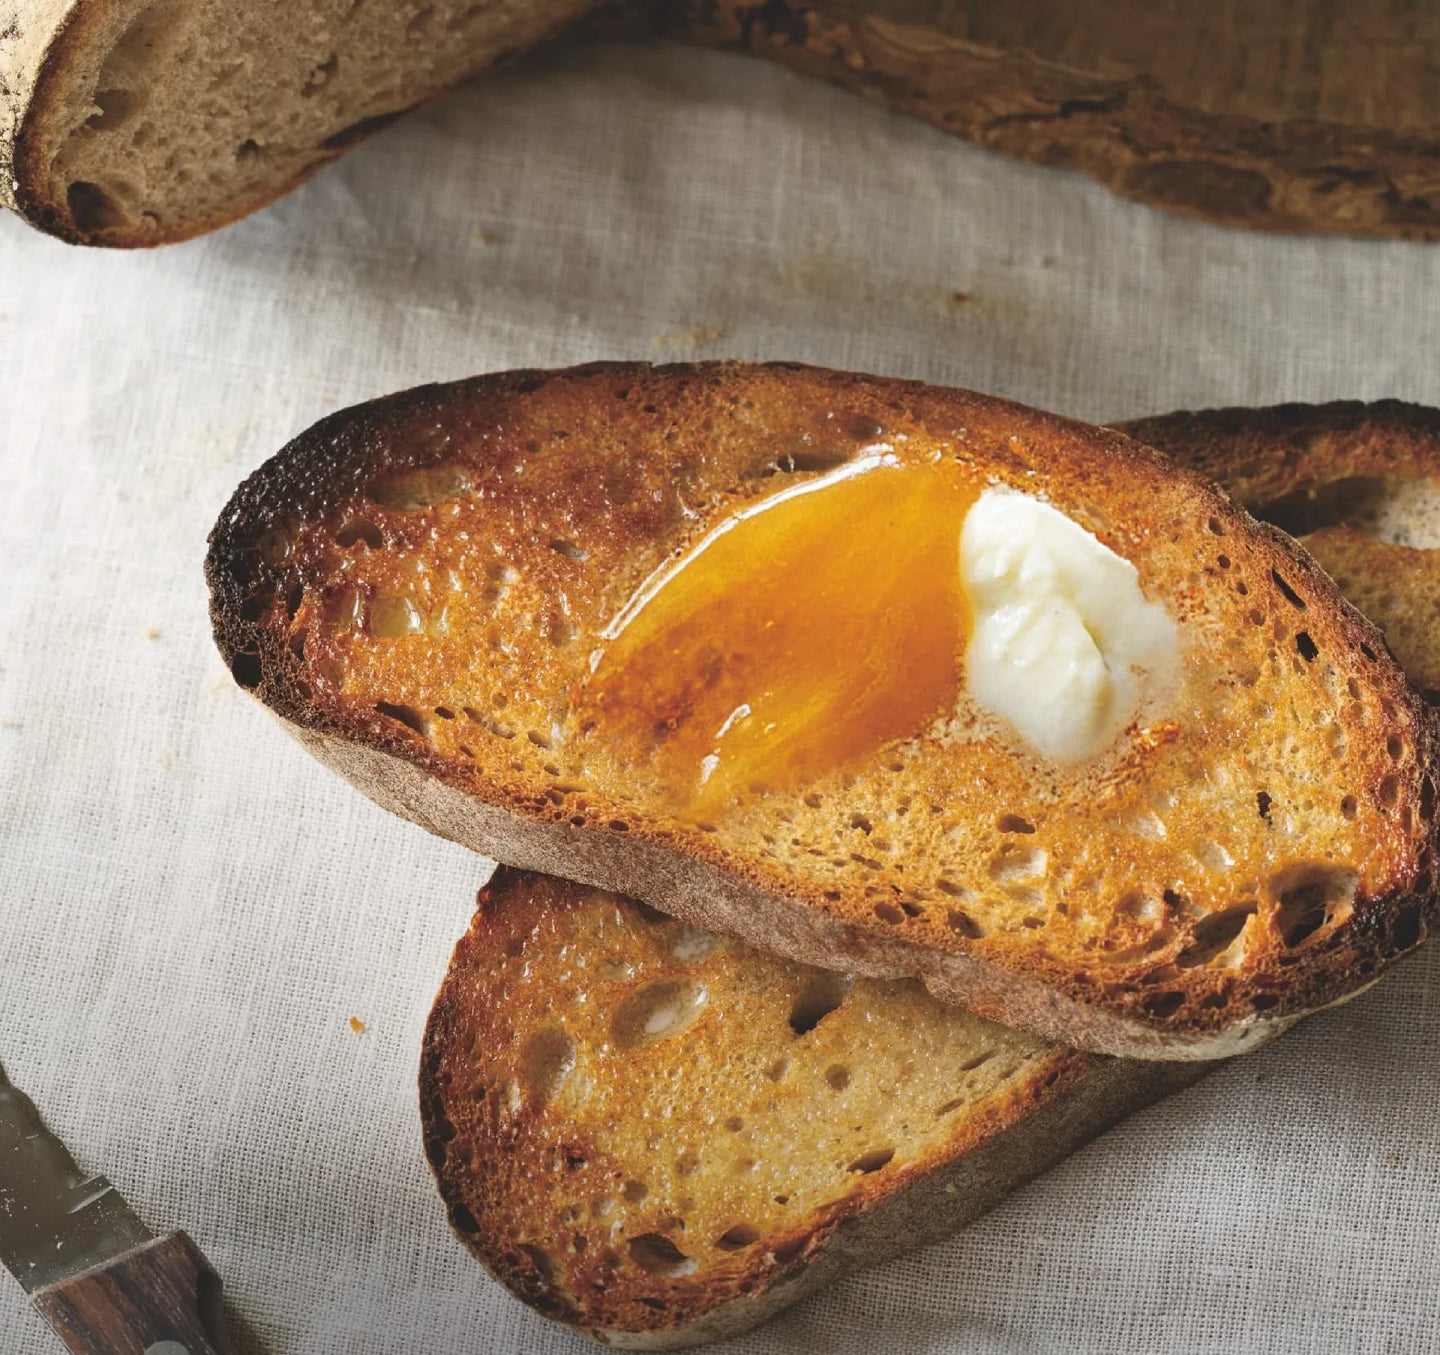
Toasts thick breads & fresh, moist breads to a perfect golden brown

Boule bread (Bakery) 3~4 min
Multigrain bread (Bakery) 3~4 min
Rye bread (Bakery) 3~4 min
Sourdough bread (Bakery) 3~4 min
White bread (Bakery) 3~4 min
Whole wheat bread (Bakery) 3~4 min

Pizza Mode

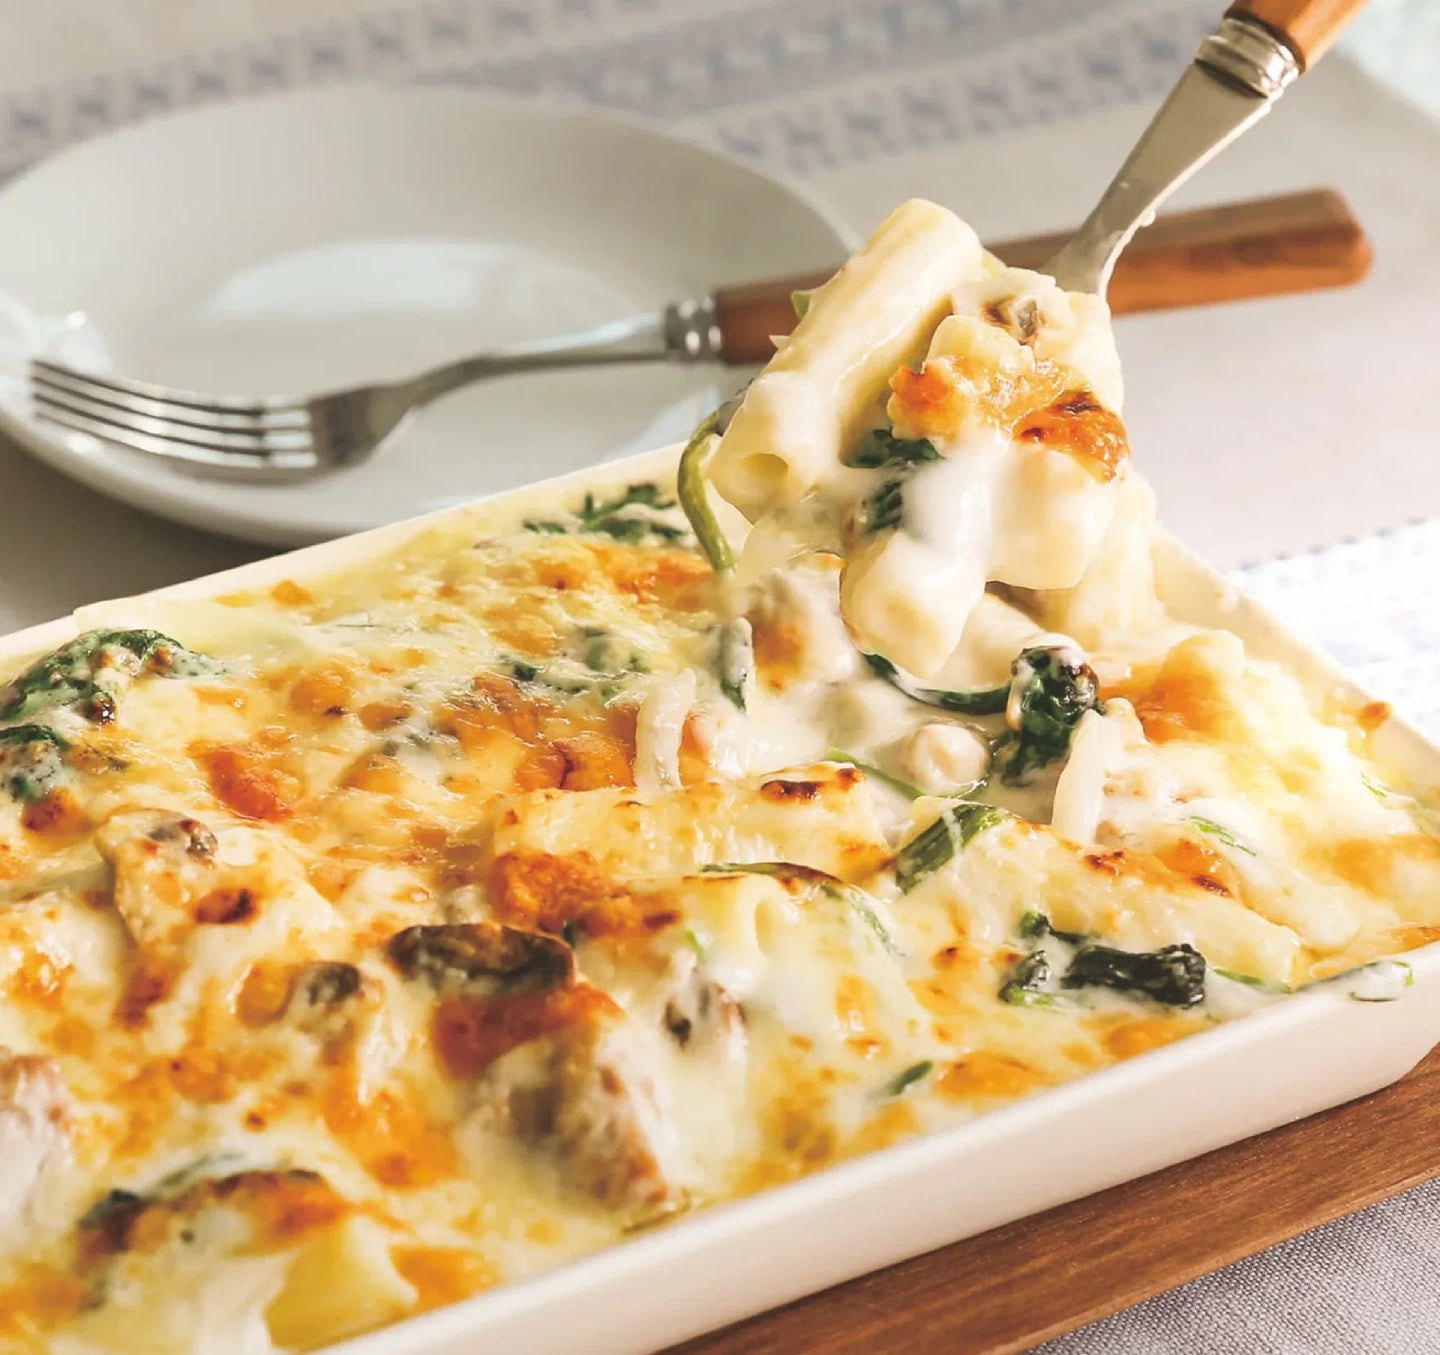
Grills food with a higher temperature above than below

Bagels (sliced) 3~4 min
Pizza (room temperature) 3~4 min
Pizza 
(refrigerated)
5~7 min
Pizza (frozen) 6~8 min

Pastry Mode

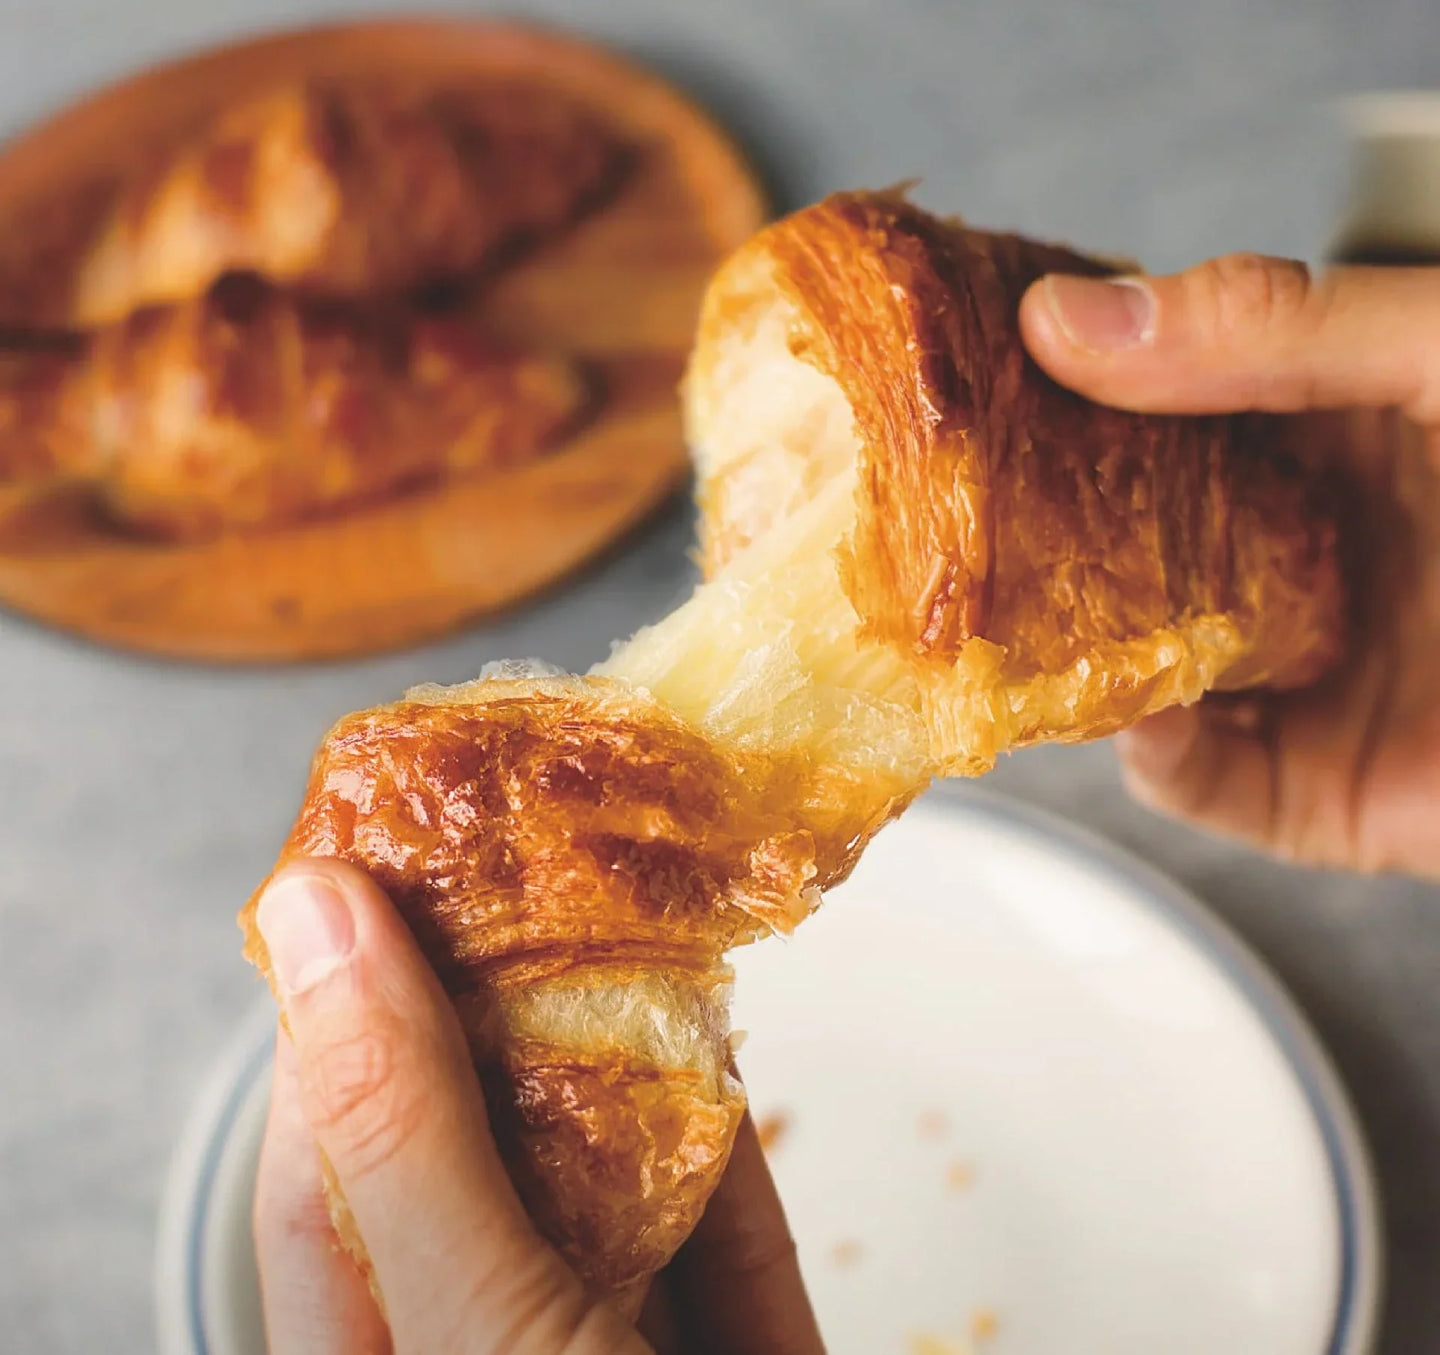
Warms pastries and breads thoroughly, without browning

Baguette 3~4 min
Burger bun 3~4 min
Brownies 3~5 min
Ciabatta 3~5 min
Croissant 3~4 min
Danish 3~4 min
Flatbread 3~4 min
Hot dog bun 3~4 min
Pain au chocolat 3~4 min
Pita bread 2~3 min
Roll 3~4 min
Scone 3~5 min
Tortilla 2~3 min

Oven Mode

(no water required)

Gratin, cookies, frozen food etc. various
  • Note:
  • * Do not put bread higher than 2.2 inches in the toaster, as it could burn or char if too close to the heating tube.
  • * With toppings or ingredients that could drip or fail, be sure to use a heatproof tray or dish.
  • * Pastry Mode only heats food, with no browning. If some browning is desired, for example on burger buns, use Sandwich Bread Mode. 

Sandwich Bread Mode vs Artisan Bread Mode: What's the Difference?

  • Sandwich Bread Mode is for everyday supermarket-bought sliced bread. Artisan Bread Mode heats at a higher temperature and is designed for bread with a higher moisture content, such as fresh bread from the bakery. To experience bread at its best, we recommend slicing the bakery bread a little thicker than usual (about 1 inch). When toasted this results in a fluffier interior and crisper exterior.

Using special heating features to toast perfect bagels

  •  

    Use Pizza mode to toast bagels to crispy, chewy perfection.
    Place bagels with the sliced surfaces facing up. Pizza Mode heats more strongly from above so it will crisp the sliced surfaces while the downward-facing outer crust remains light and chewy.

Reheating to bring out the best in bread and pastries

  • Wait 30 seconds after heating the pastry using Pastry Mode. The butter will settle and the pastry will regain its crispiness. 

Cutting baguettes differently gives different toasting results

  • 01 Block cut: Fluffy on the inside, crisp on the outside
  • 02 Sliced lengthwise: Crisp and crunchy on the sliced surface
  • 03 Sliced crosswise: Crispy inside and out

STEP 4

Set timer

Press the power button on the right side to switch the toaster on, and then turn the dial clockwise to set the timer. After this, just wait for your delicious toast to be done.

No extra time needed for extra slices or thickness

Even if you are toasting thicker bread or more slices, you don't need to add extra time. Check the recommended times and experiment to find the timer setting that gives the results you prefer.

Why isn't more time needed for thicker bread?

The changing temperature inside the toaster is precisely measured and automatically adjusted by switching the heater on and off. This precision lets the toaster give any kind of bread the same toasted finish in the same amount of time, from thicker slices that are hard to warm up to thinner slices that warm up quickly. 

Timer tips for toasting frozen bread

Put slices in the toaster frozen and add an extra 1 or 2 minutes to the timer.
* Freezing bread preserves its flavor better than refrigerating it. We recommend freezing any bread you don’t eat on the day it was baked.

MAINTENANCE

Cleaning Instructions

Clean the crumb catcher after every use, and clean the other parts when build-up becomes noticeable. The crumb catcher, toasting rack, and boiler cover are removable.

DOWNLOAD GUIDEBOOK(PDF) SUPPORT

Recipes

RECIPE

Spicy Chorizo & Cheddar Cheese Open Sandwich

RECIPE

Twice-Baked Baby Potatoes with Smoked Salmon

RECIPE

Ice Cream on Toast with
Roasted Berries, Chocolate, and Olive Oil

RECIPE

Turkey Casserole with Porcini and Green Beans

RECIPE

Eggs Baked in Chili Oil
with Dried Tomatoes and Oregano 

RECIPE

Seed Toast with Almond Butter and Jam

RECIPE

Zucchini with Anchovy
and Lemon on Toast

RECIPE

Smoked Salmon and
Sour Cream Bagel Sandwich

Better Moments, Better Life. | BALMUDA

Better Moments,
Better Life.

We believe every moment fully lived is a step towards a better tomorrow.