


how to use your teppanyaki
To help you get the most out of your Teppanyaki, we’ve broken it down into three simple steps—preparation, cooking and cleanup. Follow these easy tips to make the whole experience even better.

To help you get the most out of your Teppanyaki, we’ve broken it down into three simple steps—preparation, cooking and cleanup. Follow these easy tips to make the whole experience even better.
Step One
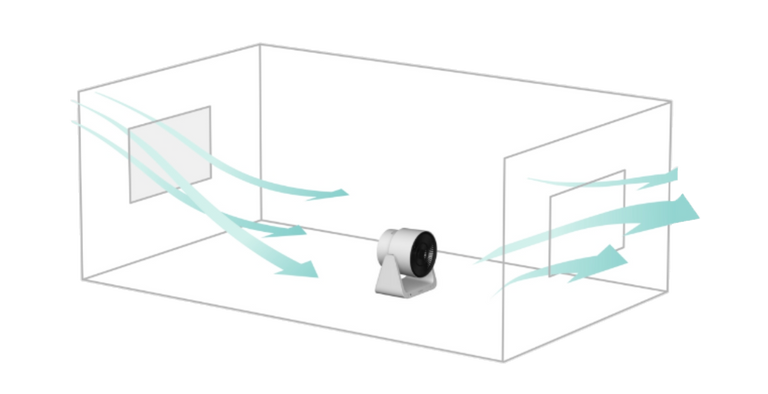
1. Before you start cooking, ensure that there is air flow in the room to prevent odors and oily smoke from building up. Opening a window and turning on a ventilation fan is a good idea, circulating the air toward the window is also effective.
2. Set the clad plate to the appropriate temperature for cooking and reduce oily smoke. Use the table below as a guide to set the clad plate to the appropriate temperature for your food. Cooking at the optimal temperature will reduce excess oil smoke. (If you are unsure of the appropriate temperature, try 400°F.)
3. Once the temperature is selected, the light near the temperature control dial will blink to indicate it is heating up. When the blinking stops and the light stays on, it is ready for use.
| Temperature | Cooking Example |
|---|---|
| 430°F | Japanese BBQ, Yakisoba* |
| 400°F | Beef Steak, Okonomiyaki (Kansai), Seafood/Vegetable Sauté, Burger |
| 360°F | Chicken Steak, Okonomiyaki (Hiroshima), Gyoza, Garlic Rice* |
| 320°F | Pancakes, Crepes |
* Approximate cooking temperature when using Griddle & Cover (sold separately)
In addition to basic utensils like spatulas and chopsticks, it’s helpful to have a small piece of folded kitchen paper on hand. You can use it to wipe off moisture or excess oil from ingredients while cooking. Tongs also come in handy—they let you do this without touching the plate directly. Having a small trash can nearby for used kitchen paper is also convenient.
Step Two
Step Three
Be sure the unit is turned off and unplugged before cleaning. Use the included spatula to scrape off any burnt residue. Then, holding both side handles, lift the clad plate straight up and remove it from the unit. Use a metal scrubber to clean the top surface of the plate. Wash the top surface of the clad plate thoroughly, and clean the underside gently.
Important: Do not use a metal scrubber on the handles or the underside—use a soft sponge instead.
Note: The clad plate retains heat, so ensure it has fully cooled before handling.
After use, unplug the power cord from the outlet. Wipe the main unit with a cloth dampened with neutral detergent and wrung out well. Remove the oil tray and wash it using a soft sponge and neutral kitchen detergent. The spatula should also be cleaned with a sponge and neutral detergent.
If the table or floor around the cooking area gets dirty, use a cloth soaked in baking soda water to remove any stickiness or odors. After wiping, be sure to dry the surface thoroughly.
The clad plate is made of rust-resistant stainless steel, so there’s no need to oil it after washing. Bundle the power cord neatly and store the unit on a flat surface. If you have our Teppanyaki Storage Bag, you can store it upright.


